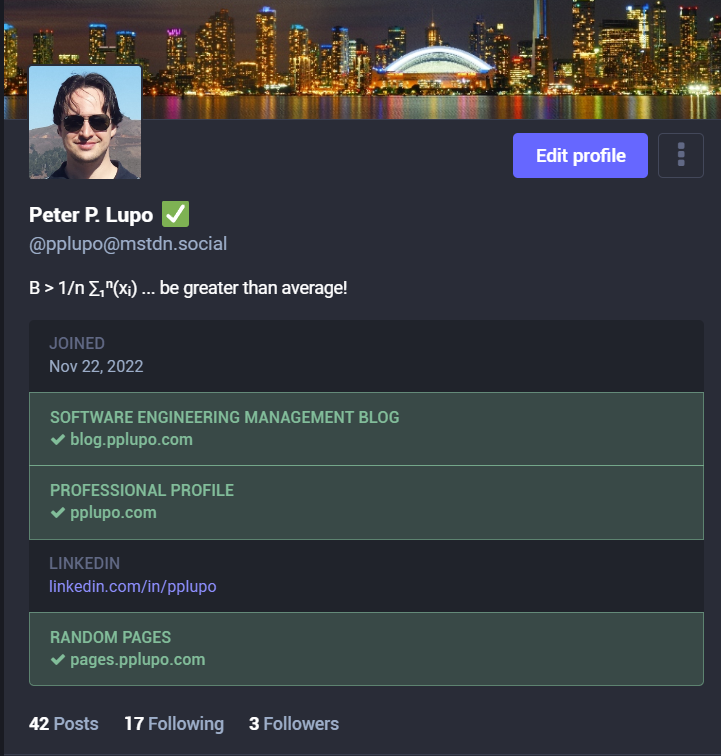
Mastodon verification on Google Sites with Cloudflare
How to verify any website you own using Cloudflare

If you use Cloudflare, you can use its Workers to modify the contents of a webpage. I have a website hosted on Google Sites, and its editor doesn’t allow me to include any tags needed to verify the website on Mastodon. So here is how I did it, using a combination of tutorials I found online.
It should work for any hosting service, not just Google Sites.
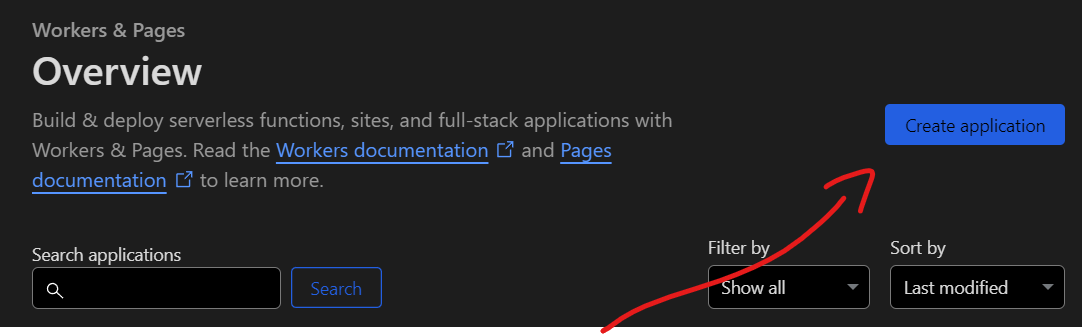
First, you need to create a Worker. To do that, on your main page, click on Workers & Pages, and then Overview:

In Overview click on Create application
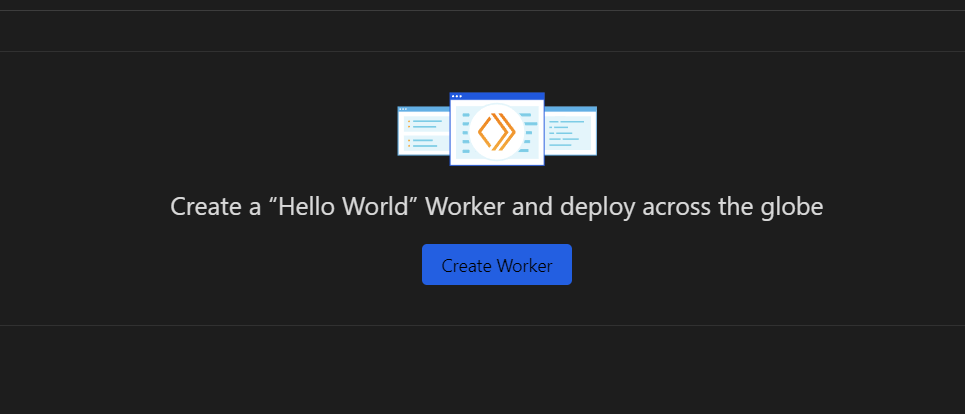
Click on Create Worker
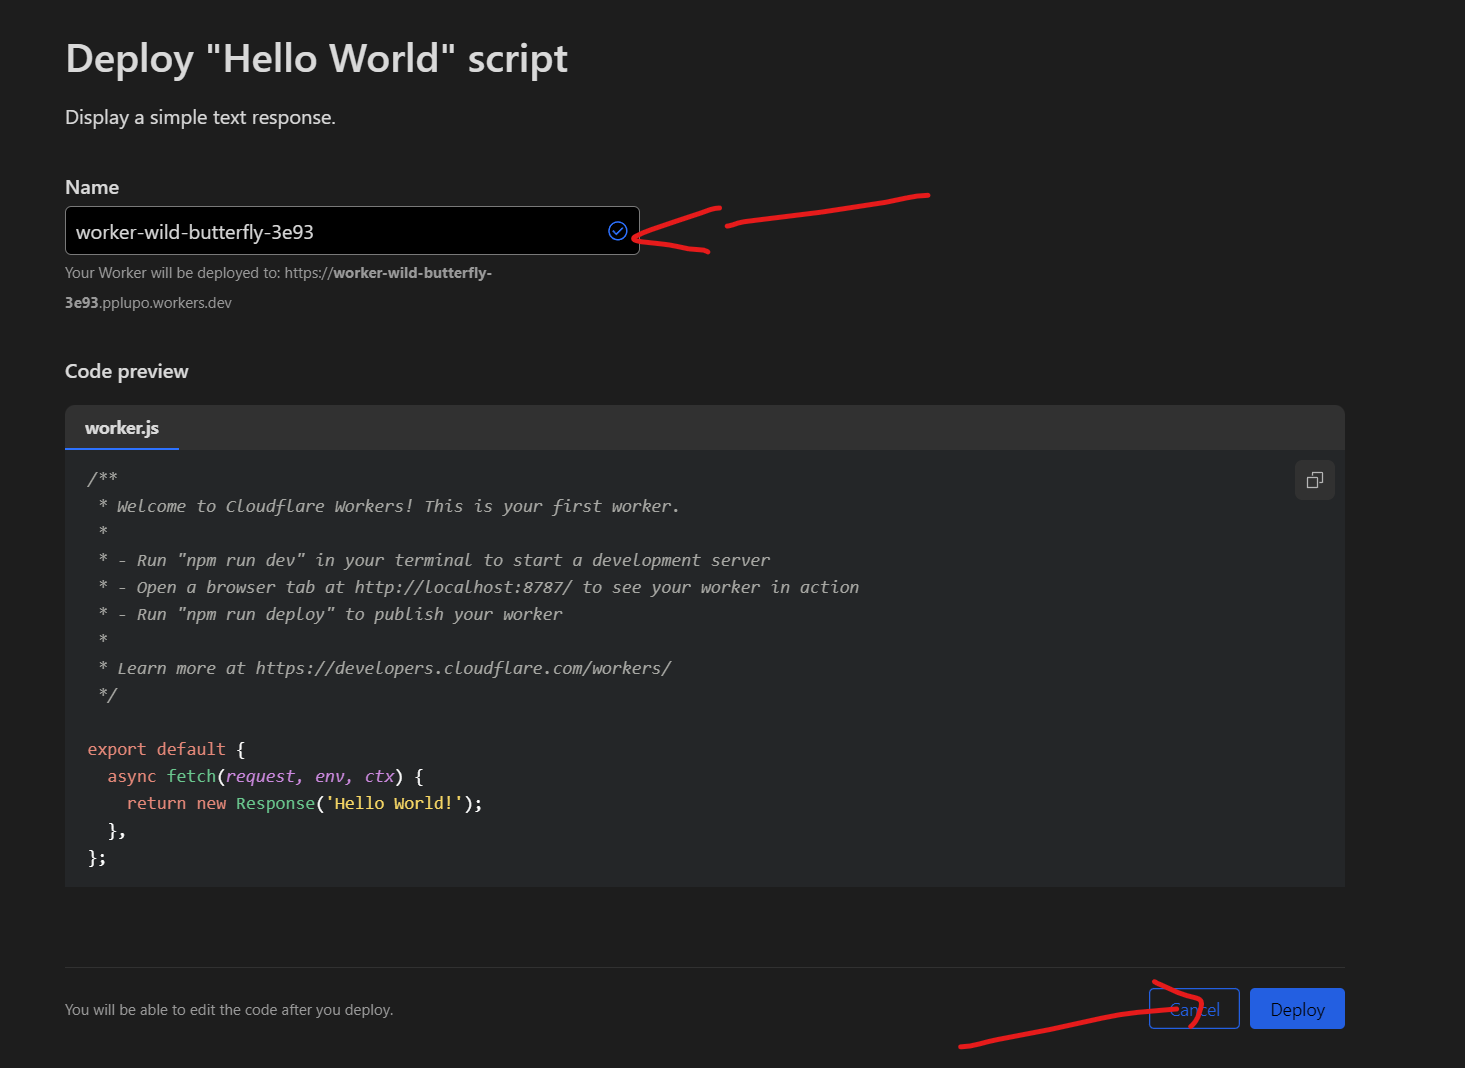
Choose a name for your worker, like “mastodon-verify”. I have already created mine and I’m repeating the steps to take the screenshots for this tutorial, so I didn’t care about the name because I’m going to delete this.
Click on Deploy (you will change the code later).
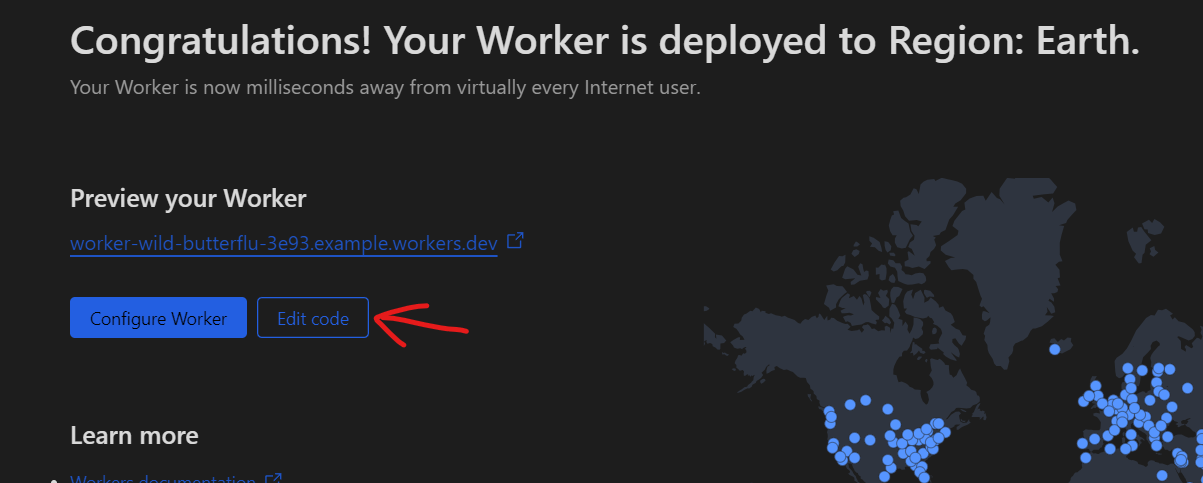
Click on Edit code.
This is the code you will replace. Delete it.

Copy the code below and paste it in the place where you deleted the existing code:
/**
* Welcome to Cloudflare Workers! This is your first worker.
*
* - Run "npm run dev" in your terminal to start a development server
* - Open a browser tab at http://localhost:8787/ to see your worker in action
* - Run "npm run deploy" to publish your worker
*
* Learn more at https://developers.cloudflare.com/workers/
*/
class ElementHandler {
element(element) {
element.append(`<link href="https://**[YOUR SERVER]**/@**[YOUR HANDLE]**" rel="me">`, {html: true});
}
}
async function handleRequest(req) {
const res = await fetch(req)
if (!res.url.includes('ads.txt')) {
return new HTMLRewriter().on("head", new ElementHandler()).transform(res)
}
return res;
}
addEventListener("fetch", (event) => {
event.respondWith(
handleRequest(event.request).catch(
(err) => new Response(err.stack, { status: 500 })
)
);
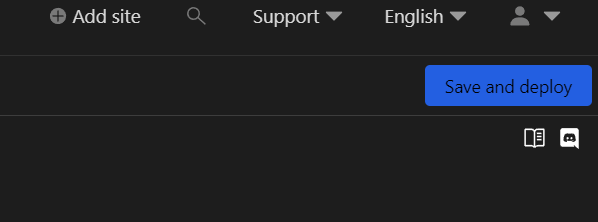
});On the top right corner, click on Save and deploy.
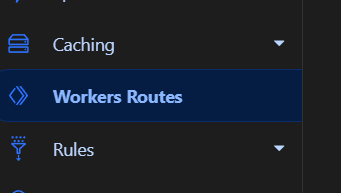
Go to your domain configration page and click on Workers Routes on the sidebar.
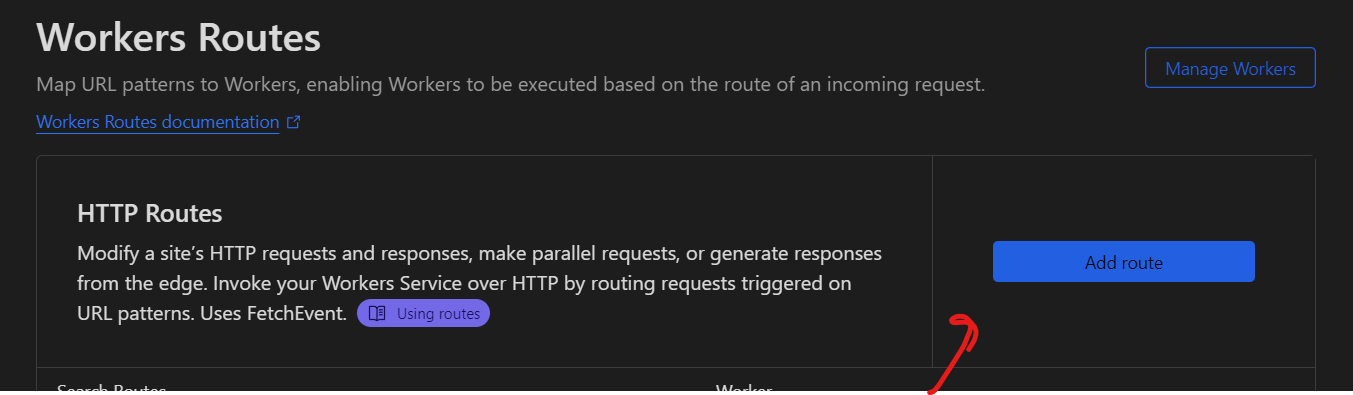
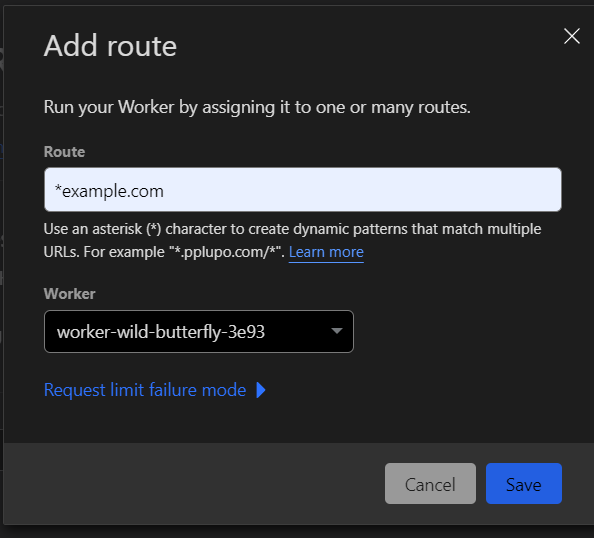
Click on Add route.
You will write *your-domain. Don’t forget the asterisk in the beginning. If your domain is avocado.com you will write *avocado.com.
Select your worker on the dropdown. If you named it mastodon-verify, that’s what you will select.
Click Save.
Wait a few seconds and it should be working. You might need to go to your Mastodon profile, edit and save it again.
Cheers!